Thursday, September 14, 2023

Adding Letters to your Rag Quilt

I am forever trying to find ways to use up my fabric scraps.  And now on top of the cotton and flannel scraps I have added a mountain of batting scraps from all the t-shirt quilts I've done.  I saw a pin on Pinterest for making fabric letters that uses fabric scraps and batting.

 I make my letters the rag quilted way (of course).

I made my grandbaby her name:


Then I started adding the letters to my rag quilts to personalize them:


When I make a quilt with name letters I make the rest of the quilt first the usual way.  I do the letter part last.

 I add the letters to the quilt is in two ways. 

 If the name is small enough I will center the fabric letters inside the squares

 or

I will add a coordinating flannel strip the same size as the squares (usually 9") and center the name letters on that. 

 I usually try to use the same fabrics that are in the quilt for the top layer of the letters then the 2nd and 3rd layers of the letters are always a solid flannel.  You can do just 2 layers for the letters too but I usually do 3 layers for the letters sewn on top of 3 layers of the quilt square.  

BTW:  It is much easier to put a letter in a square than it is to sew them onto a strip of flannel.

Saturday, September 9, 2023

Summer 2023 Finishes


 Nine months out of the year I am an intervention RTI teacher but in the summer months I am a full time quilter.  I sew as much as I can in between being a wife and a mother/grandmother.  I haven't shown my summertime finishes in a while and I wanted to share some of the things I have made.  Not everyone would like for me to share their t-shirt/memory quilts so I will just tell you how many I made since June 1st.

I've made 12 T-shirt quilts!  (If you'd like more info on getting your own t-shirt quilt made check here: https://zeedlebeez.etsy.com

Plus I made 5 vintage hanky rag quilts:


I also made a couple vintage hanky/linen pillows and table runner:


I made only one baby minky blanket:


I made a couple needle books and crochet hook wrap:


I made a few Halloween items:


And I made some mug rugs and a placemat that I had started years ago:


And finally some miscellaneous pretty useful things:

These are tea wallets that my daughter (@thekotholetree) designed the fabric!

Tea wallet


Denim book/Ipad Sleeve

My summer is all sewn up!


Sunday, December 29, 2019

Two Things Made My 2019 Better

I did two new things this year that I've never done in my whole life.

1. I started a temperature blanket and in 3 days it will be all done.

        I worked on it almost every single night of 2019.  What's a temperature blanket you ask?  Exactly my question last January.  A temperature blanket is a crocheted blanket where you do one row every day of the year based on the high or low temperature of the day.  You assign a different color yarn to a temperature range.  You find out the temperature for that day and that's the color yarn you use.  Here's how I kept track:


I made a huge mistake though, when I started.  I used the wrong size crochet needle!  So I ended up with and extremely long blanket in June.  I knew I couldn't go on but I didn't want to stop.  So I started a whole new blanket for the second half of the year.  Here is a picture of my blanket Jan. -June and July - December.


I may sew them together.  I would love to try it again with the right needle or I'm thinking of quilting a temperature blanket next time.  Whichever I do, I really enjoyed making my first and I know I will love doing my next.


2.   I started a bullet journal (Bujo), to keep track of all the stuff in my life.

My daughter had been trying to talk me into one for a few years but I kept resisting because I thought it would be too much work and I'm not very artistic.  Well I'm happy to report that I have kept a bullet journal for almost a year.  I looked forward to writing in it every night recording all the things I had accomplished.  It motivated me to keep on track, take that extra few steps, read instead of falling right to sleep.  What I have now is a well documented look back on 2019.   I love it!  It's like a diary but much more.  Some of the things I recorded were:

  •               Steps
  •               Dinners
  •               Whenever I finished a sewing project
  •               Whenever I had an Etsy sale
  •               Whenever I had a custom order
  •               My doctor appts and the outcomes
  •               Birthdays
  •               Temperatures
  •               Exercise

Here are some of my pages that might inspire you and some of my "art".  I will definitely be starting my new 2020 bullet journal.


Thursday, August 1, 2019

July 2019 Finishes

I have been working hard on my sewing business since it is essentially my summer job.  Here's what I have finished in July.

Two Vintage Hanky Rag Quilts:


One New Vintage Style Hanky Quilt

Vintage Style New Hanky Rag Quilt
One Vintage Hanky Pillow cover

White on white Vintage Hanky pillow cover

Three Burp and Bib Sets:


Sock Monkey Set

Hipster Tractors Bib and Burpie

Sailboat burpies

Four Pocket Pillow Covers (I made 2 of the Summer Night Lights):


Sloth and Stacked Horses

Summer Night Lights
One Rag Quilt:

Sock Monkey and Bananas Rag Quilt

And One Minky Blanket:
Fairy Lights Glow in the dark Minky Blanket

I did go on a small vacation so that's why there is not that much...

Saturday, July 27, 2019

Minky Blanket Tutorial


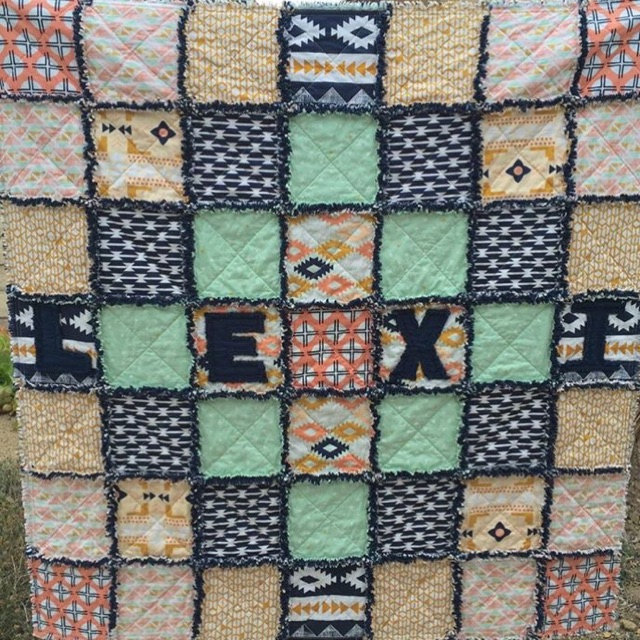
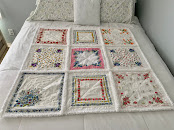
Someone recently asked me if I had a tutorial for my minky blankets so I thought I'd write one up as I make my next one.  When I say minky blanket I mean a small 32- 36" x 32- 36" patchwork top with minky on the back.  Here are some examples of ones I've done:


In this tutorial  I interchange the words "quilt" and "blanket".  I used 6 fabrics from the Fairy Lights Collection.  My daughter gave me these fabrics last year and I'm just now using them.  Neither one of us knew that this was "glow in the dark" fabric which makes the fairies look very cool at night.

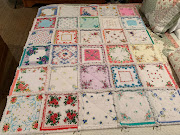
The first thing I do is cut my squares.  I've done 6" up to 9"squares.  For this blanket I will be using 6" squares in a 6 sq. x 6 sq. array.  I thought I would do a diagonal design which is easier for my brain but my daughter didn't like that and suggested I do a random pattern. Here is a guide if you are using 6 fabrics to make it sudoku random (thanks to my other daughter).


Step 1:  Layout your fabric so it is pleasing to your eye.  (It's always a good idea to take a picture of your layout because you can always refer back to it if the pieces get jumbled.)

Step 2:  Sew each row together using a 1/4" seam allowance. Press seams and then iron all seams to one side.  Do this for all the rows but alternate which side you iron to.  Row 1 left, row 2 right , row 3 left and so on.


Step 3: Pin two rows together matching the seams.  The seam allowances going in opposite direction will help. Once the two rows are pinned at the seams, sew down the length backstitching at the beginning and end. Press seam and iron open. I usually make two rows then sew those together. Sew all your rows together.


Step 4:  Measure your sewn quilt top and decide on what color minky will look best.  For this quilt I chose Pastel Turquoise from Joann Fabrics.  1 yard is all you need for this size blanket and you will have some leftover minky for other projects. 

Step 5:  Lay the minky out right side up and lay your quilt top right side down on top of the minky.  Smooth both pieces the best you can. 


Pick a square that you want for the opening on the side or at the bottom of the quilt top. (I picked the light green square 3 down on the right side.)  Start pinning below that square and pin very closely all the way around to the top of that square to leave an opening.  The pins should be about 1" above the fabric edge and they should stay in place all the while you are sewing.  You don't want that minky to move!  I used 82 straight pins on this!


Step 6:  Trim the minky.  Leave about a 1/4 inch over the side of the quilt top.  At the open square leave about a half an inch. This will tuck inside when sewn. Turn over and check the back to see that the minky is nice and smooth with no bumps or fold overs.  Adjust if necessary.


Step 7:  Starting at the bottom of the open square begin sewing around the perimeter backstitching after the first few stitches.  I line my foot up with the edge of the quilt top fabric.  Don't sew all the way to the end of the fabric but turn at the corners so you will have about a 1/4" seam around the whole quilt (except at the open square.)  When you get the the top of the open square back stitch to lock the seam.


Step 8:   Very carefully press the perimeter seam without touching very much of the minky.  The minky dots will flatten with ironing so be very careful.

Step 9:  Clip the corners of the blanket being careful to not cut into the seam. Take all the pins out.  Next turn the blanket right sides out through the open square.


Step 10: Very carefully press the seams again.  Refer back to Step 8!!!  The open square will have a lip of minky fabric.  Carefully tuck that inside the blanket and pin so it looks like the rest of the seam.


Step11: Topstitch around the  perimeter starting at the pinned area. When you go all the way around sew back over the pinned area to secure.  I like to then sew another perimeter seam to give the blanket a nice finished look.


Step 12:  You can give the seams a quick once over with the iron if you'd like.  Refer back to  Step 8!!!  If your cotton fabric has gotten wrinkled there is a way to iron but I would try throwing it into the dryer or use a steamer first.  If you want to try ironing you would fold the blanket in half and then in half again.  Open to the middle and stick a multi-folded towel in between the folded layers of blanket.  Gently run the iron over the top cotton section.  Do that for each section.

Congratulations! Your minky blanket is done! That wasn't so hard.  Or was it? 


Blanket in the dark